. >

Saturday 3 August 2013

When Life Gives You Lemons....

....make lemonade!
 
 
It's what I did just a few weeks back - using this recipe with a few more lemons added in for good measure - for an afternoon tea-inspired party I threw as a housewarming.
 
And it went down a treat; here's why:
 
* It was cold and refreshing - perfect for a hot, summer's day
 
* While it did contain a mountain of sugar, it was without any nasty additives and colourings
 
* I served it up in empty jam jars with pretty, retro-esque pastel coloured straws


What's your favourite thing to make when the weather turns warm?
 

Sunday 3 March 2013

Chocolate-making with Green & Black's

As a nipper, my favourite film was, without doubt, Willy Wonka's Chocolate Factory. In fact, who am I kidding - it's still very much in my top five today. So when the chance to attend a day testing and making luxury chocolates made its way to me, I felt just like Charlie with his prized Golden Ticket.


In our workshop of 14, our friendly tutor Malka Afzal started by giving us a brief history of chocolate. Surprisingly more interesting than it sounds. Did you know the sweeter the chocolate the cheaper it generally is. Why? As one of its main ingredients - cocoa butter - has been removed and replaced with something less luxurious.

Next, onto the fun part.... a chance to taste chocolate in its raw form...and a nibble on some Green and Black's goodies.

Moving on, we had fun creating our very own giant Green and Black's choccie buttons - which we later wrapped in cellophane and fancy ribbons to take home.


Malka doing her stuff

Piping the truffles

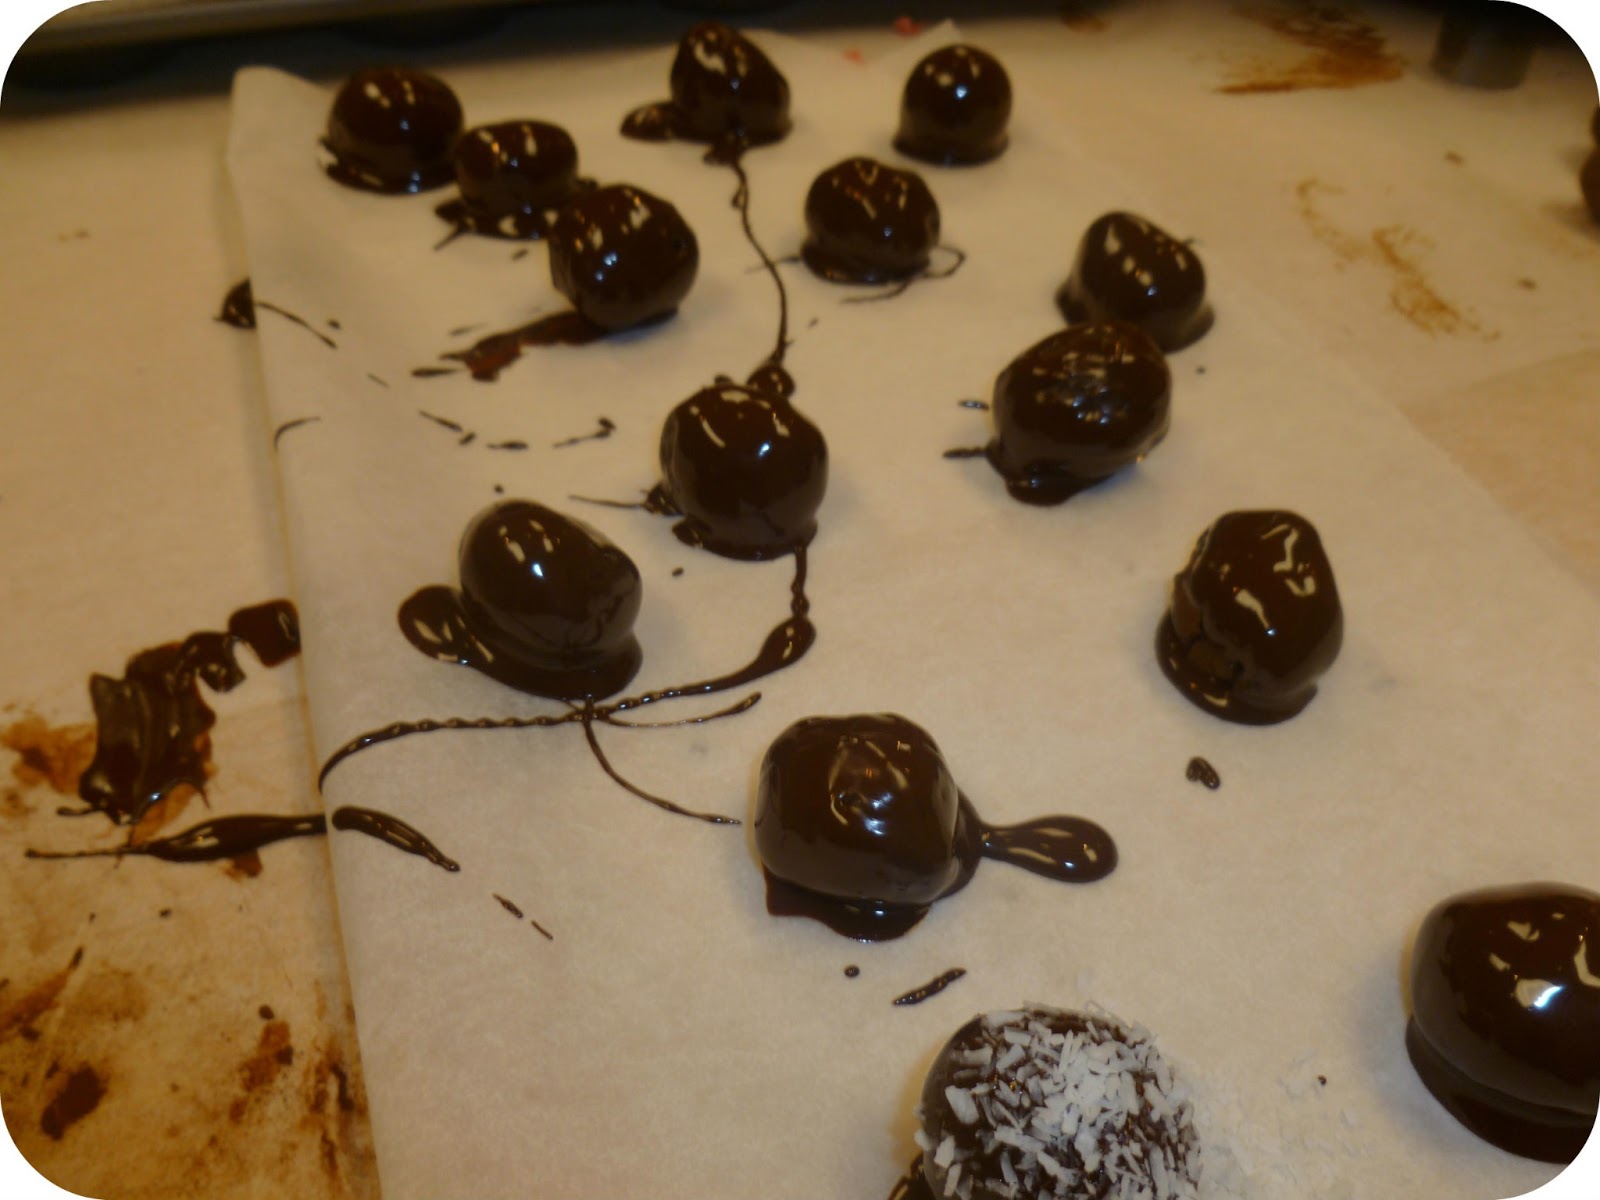
The best bit? Making truffles from scratch? Not as difficult as you may think, by the way.

Simply melt down your chocolate of choice (we used dark, or plain), use two parts chocolate to one part cream. We tried eight tablespoons of melted chocolate and four of cold double cream, making around 15 truffles.

Simply mix the chocolate and cream together. You may find the mixture is too runny after you do this; after we had a go at home a few days after the workshop our mixture wasn't thickening up as we'd like. If yours is the same, pop it in the fridge for a bit and use when it's a little more like a paste.

Next, working quickly, add it to a piping bag and pipe out blobs of the mixture onto some baking parchment.

Leave a while and roll in cocoa powder, until they look something like this...
Cocoa-covered truffles, ready for melted chocolate

Next, dip them in melted chocolate of your choice (white, dark or milk)...
Onto the messy part....
And get messy with some sprinkles. We used white chocolate curls, desiccated coconut and red, white and blue hundreds and thousands.


I was like a kid in a, er...sweet shop when it came to dusting the truffles with sprinkles

Don't they look delicious? If I do say so myself...

Not a bad effort for my first attempt, yes?

And here's my giant chocolate button. Here, I had a go at the 'marbling' effect, which saw me drizzle on some chocolate and use a special fork to make the swirly patterns. I then spoiled all that by covering it in  coconut.

Yes, my chocolate button didn't win any prizes...


How about the lovely lady's sitting next to me though? Hers looked amazing!

And here's my finished button.

We were also handed some fun transfer sheets, which printed cute patterns onto some smaller chocolate buttons we made.

Having a go with chocolate transfers

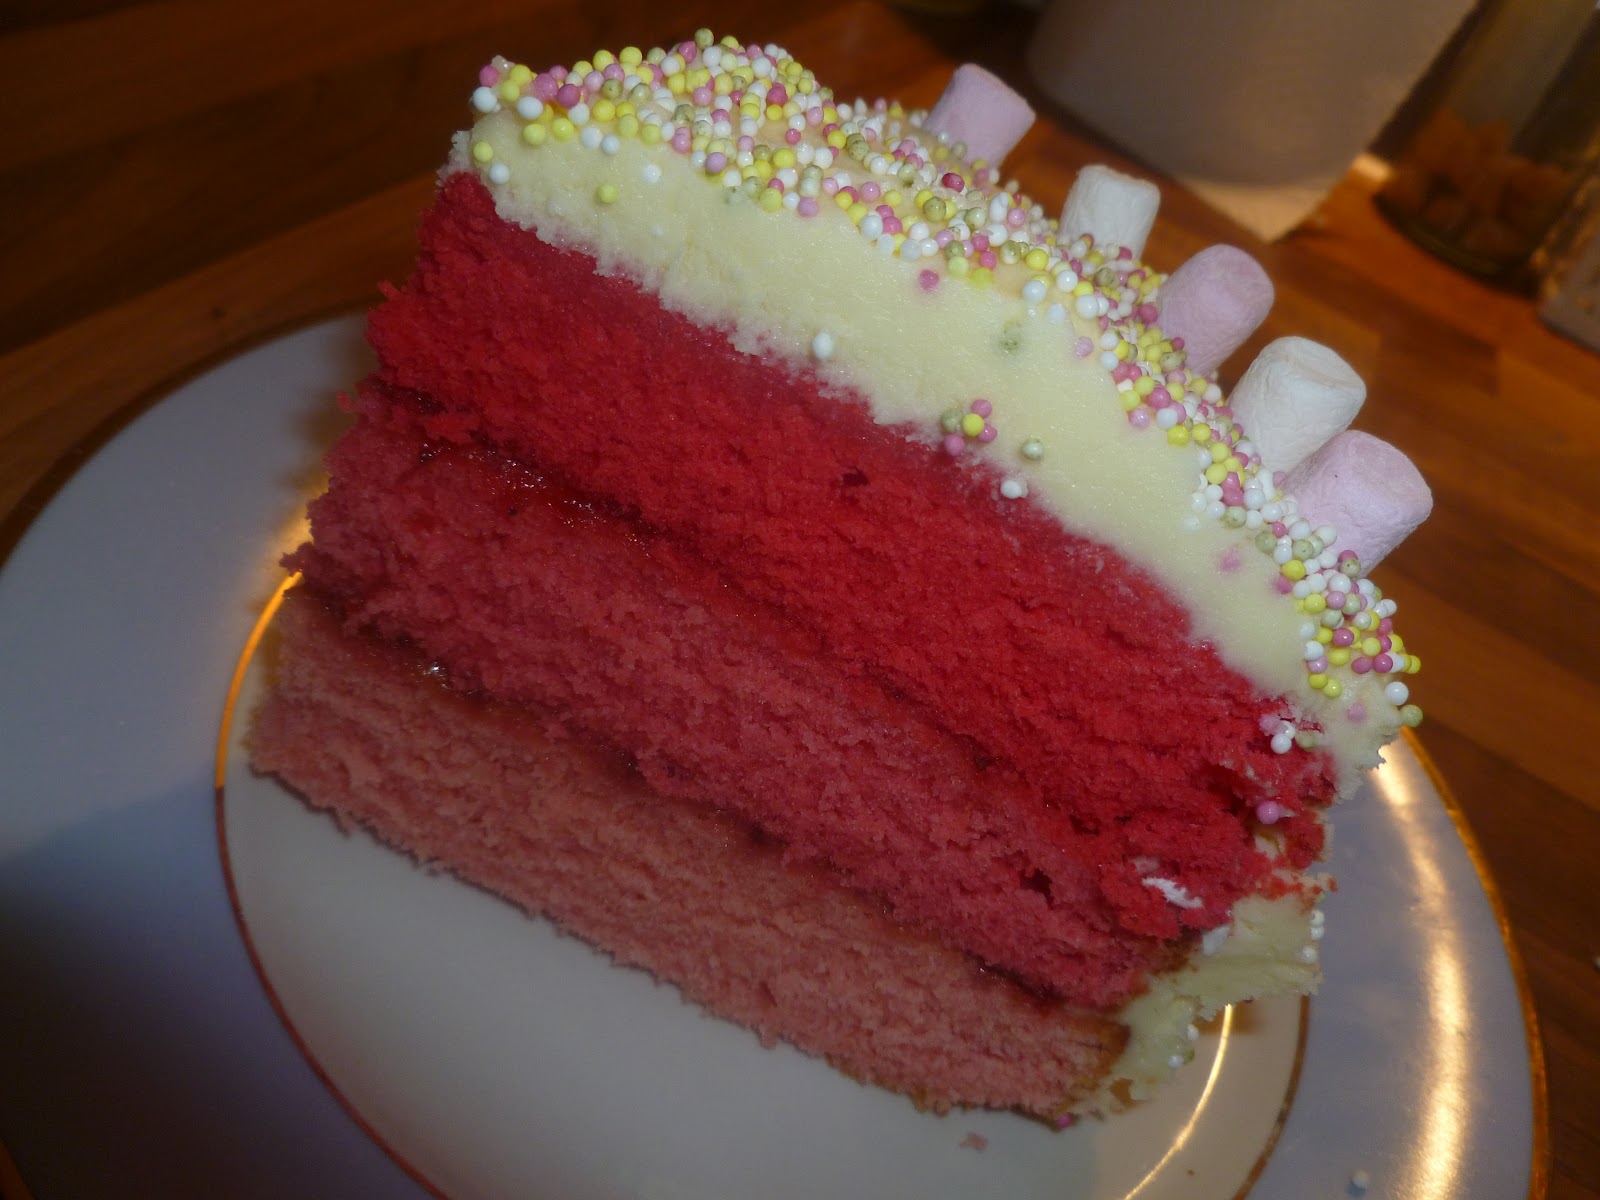
Looking for a fun Mother's Day gift? I can definitely recommend this chocolate-making afternoon. For £35, you'll be treated to a two-hour workshop, a chance to get messy with chocolate (oo-er) and a bag full of treats to take home at the end.

If you fancy treating your Mum next Sunday (March 9), whip her up a batch - it takes less than an hour from start to finish. Enjoy!

Saturday 2 March 2013

TCF Breakfast Time: Bacon and Egg Cups

I recently whipped up a breakfast-making storm in the kitchen and made these bacon and egg cups - really easy to throw together but tres impressive, yes?

I followed this recipe but added some fresh parsley and rosemary at the end for a fancy schmansy touch.
Choose a cookie cutter the same size as your rammekins...

The trick is not overcooking the bacon...

Et voila....


What do you reckon? Move over Mr Ramsay...

 Have you tried bacon and egg cups?


Sticky & Sweet Toffee Apples

It's quite a while until bonfire night and Halloween (most people's preferred time to whip up a batch up toffee apples), but hey ho - here's a fun recipe anyway. Yum!

Using this BBC GoodFood recipe but later adding my own twist (get me!) of a simple but delicious sprinkle of Fox's Ginger Biscuits (crushed) and smothered on the sticky toffee, I gathered up my ingredients - less than a tenner's worth, by the way - and got going.


I didn't bother using the dark choc or sprinkles, but I'm planning to tonight
There's something really festive and autumnal about recipes like this. I really enjoyed closing the curtains, pulling on a big woolly jumper, pressing play on some good tunes and stepping in the kitchen for some toffee apple fun.

First up; soak some Granny Smith apples (I used 6, but the recipe states 8) in a bowl of steaming hot water. This soaks any wax off the fruit and ensures the toffee syrup sticks easier.

Let me tell you, at this stage I had to stop myself from festively dunking my head in the bowl and 'bobbing for apples'. Thankfully  I remembered the water was scorching hot.


I soaked my apples (why does that sound rude?!) for about 2-3 minutes, before taking them out (with a spoon, no one wants burnt hands) and giving them a good dry on a tea towel.


Now for the fun part; adding the sticks. I used kebab skewers (perhaps a bit long, but hey ho) and after removing the apple stalks, had fun poking the sticks into the now ever so slightly squishy fruits.


Placing the apples on a sheet of baking paper, I added 400g of golden caster sugar and 100ml of water to a pan, cooking for five minutes to allow the sugar to dissolve.


Now here's the tedious part - waiting for the mixture (which now comprises 4 tablespoons of Golden Syrup and a teaspoon of vinegar) to reach 140 degrees C. 

You don't need a sugar thermometer for this. If you don't have one, the recipe recommends testing the consistency of the syrup later by pouring a little into a bowl of cold water. If it's ready it should harden instantly and be brittle and easy to break when removed.


Working fast, I slathered the finished syrupy mixture over the apples before rolling them in a plate of pre-crushed  ginger biscuits for a doubly festive taste. 

Don't forget to place the apples on your sheet of baking parchment to harden for around half an hour.


Behold...the finished toffee apples


Okay, so they don't look perfect, but take my word for it, these were delicious (if I do say so myself!) and take hardly any time at all to prepare.

Will you be giving these a go? 


Monday 21 January 2013

Pink Ombre Cake

After posting a photo on Facebook of the pink ombre cake I made recently, I was unexpectedly inundated with 'Likes' and messages from friends asking how I made it.

It wasn't without a bit of help, let me tell you. First, I trawled the Internet for ombre cake inspiration , before consulting culinary genius (and my go to Twitter lady for all things cake-related) Franky for some much-needed food colouring tips. 

And here's the finished cake, which served as a practise run before I make a four layer one for a party we're hosting next weekend:


I used this basic Victoria sponge recipe for the base, following the instructions to make the first two layers and then halving the ingredients list shown to make the third layer. 

I only own two round cake tins, so (annoyingly) it was a case of waiting for the first two layers to bake before I could start on the third.


After mixing up the ingredients, I roughly separated the mixtures into two bowls.


Now for the fun part (childish); adding the food colouring paste. I chose this Jane Asher food colouring in 'pink', as cake maker extraordinaire Franky tells me it's the best kind for baking as it doesn't weigh the mixture down.

Now, a little of this stuff goes a LONG way. I used a toothpick to add in the right amount, whisking as I went and ensuring each mixture was slighter darker in colour than the last.


Next, I spread the mixtures into two greased round tins and popped them in the oven for around 20 minutes. You've got to be careful with these ombre cakes at this stage, as the food colouring in the mixture makes it more difficult to tell when they're cooked.


I relied on a bit of guess work here and went by the smell. If it smells like cake after around 20 minutes, it's probably ready. But don't hold me to that; I don't want to be responsible for poisoning my subscribers ; )


Freshly baked cakes, out of the oven. At this point, I seriously wondered if I'd made a cock up. The cake on the left only had a slight pink tinge to it.

This one, on the other hand, is positively neon...


Still, I soldiered on regardless and layered the cakes (spreading a generous dollop of jam in between) after they'd fully cooled down.


As a result of more guesswork I made far too much butter cream.

I went for 8oz of butter and 16oz of icing sugar, mixed with a tablespoon of milk. This made more than enough to cover the top and sides of the cake.

This is where it got messy...


I then improvised by adding mini marshmallows in a tedious pink, white, pink, white formation....


before getting giddy with a tube of sprinkles... 
I'm still sweeping these up off the kitchen floor now ; )


My chap wanted to do the honours and cut into it (big kid) so I waited for him to return from work...

until....


Are you a fan of baking? What's your favourite thing to cook? Send me your links.